 If you develop web applications and scripts, it will be nice testing them locally in your own computer before launching them online. This will require the installation of a webserver on your computer.LAMP (Linux, Apache, MySQL, PHP) is one of the easiest and perfect environment where you can test all your PHP codes. In this tutorial, we will help you install the LAMP webserver in the following Ubuntu/Linux Mint distributions:
- Ubuntu 13.04/12.1012.04/11.10 or older
- Linux Mint 14/13/12 or older
LAMP Installation
The LAMP webserver can be installed easily with this command (the caret (^) is required, don’t exclude it):
sudo apt-get install lamp-server^
During the installation, you will be asked to enter a new root password for the MySQL database, submit it and press Enter:

Testing Apache
Launch your web browser (Firefox, Google Chrome, etc.) and open one of these addresses (or provide your server IP address if needed):
or
If you get this page, then Apache is started:

Otherwise try to restart Apache with this command:
sudo /etc/init.d/apache2 restart
Then give it another try.
Testing PHP
Let’s now test PHP. You need to create an empty PHP file in /var/www and insert this snippet of code into it:
<?php phpinfo(); ?>
You can easily do it with these two commands via the terminal:
echo “<?php phpinfo(); ?>” | sudo tee /var/www/test.php
sudo /etc/init.d/apache2 restart
Then open this address:
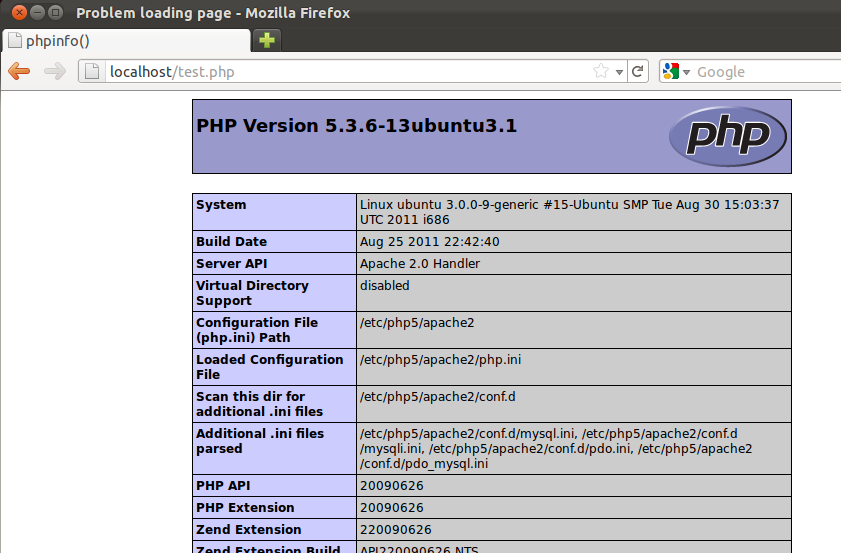
You should see a page like this:
Configuring MySQL
Since you are using the LAMP webserver locally, your MySQL database must uses the same IP address of your localhost which is: 127.0.0.1. Via the Terminal, run this command to verify it:
cat /etc/hosts | grep localhost
Here is the correct output you must get:
~$ cat /etc/hosts | grep localhost
127.0.0.1 localhost
::1 ip6-localhost ip6-loopback
Also verify that the bind address is set correctly by running this command:
cat /etc/mysql/my.cnf | grep bind-address
You should get this output:
~$ cat /etc/mysql/my.cnf | grep bind-address
bind-address = 127.0.0.1
If you get a different IP address, then edit the my.cnf file with this command:
sudo gedit /etc/mysql/my.cnf
Search for the line containing “bind-address” and correct its address by replacing it with 127.0.0.1.
phpMyAdmin Installation
If you want an easy GUI for managing your MySQL databases, you can install phpMyAdmin with this command:
sudo apt-get install libapache2-mod-auth-mysql phpmyadmin
During the installation you will be asked to select a web server that will be configured automatically to run phpMyAdmin. Select apache2 using your spacebar and press Enter:

 In the next screen, enter the MySQL password you have submitted before and press Enter:
[
OR,
Select NO and press ENTER
And, Type below command in terminal
sudo cp /etc/phpmyadmin/apache.conf /etc/apache2/conf.d
restart your apache server using
sudo /etc/init.d/apache2 restart
]
Congratulation! phpMyAdmin is now installed in your system. To test it, open simply this address via your web browser:
Login to phpMyAdmin using root as username and the password you created earlier:


You have now successfully installed LAMP on your system. All your projects and files must be placed in /var/www so that you can run them.
Removing LAMP & phpMyAdmin
To uninstall the LAMP web server and phpMyAdmin, open the terminal and run this command:
for pkg in `dpkg -l *apache* *mysql* phpmyadmin | grep ^ii | awk ‘{ print $2 }’`; do sudo apt-get -y purge –auto-remove $pkg; done;
That’s it!
Enjoy!

[…] How To Install LAMP (Linux, Apache, MySQL, PHP) On Ubuntu/Linux Mint […]
I am regular visitor, how are you everybody?
This piece of writing posted at this web site is really
nice.
A work mate recommended me to this website. Thank you for the resources.
After study a few of the weblog posts on your web site now, and I actually like your means of blogging. I bookmarked it to my bookmark web site checklist and will probably be checking again soon. Pls try my site as nicely and let me know what you think.