Installing and Configuring Samba Ubuntu 12.04
One of the most common ways to network Ubuntu and Windows computers is to configure Samba as a File Server.
Samba allows file and print sharing between computers running Windows and computers running Unix. Samba sets up network shares for chosen Unix directories (including all contained sub-directories). These appear to Microsoft Windows users as normal Windows folders accessible via the network.
In this tutorial, we will configure Samba on Ubuntu 12.04 Desktop edition.
First thing to do is to make sure that your Ubuntu system is up-to-date with all the latest packages and updates.
To ensure this, run the following command:
# sudo apt-get update
Once the update completes, we can now setup the Samba server on Ubuntu.
First, we install the necessary Samba packages
# sudo apt-get install samba samba-common

The next thing to do is install Python-Glade.
# sudo pat-get install python-glade2

Before we move ahead further with the installation, it is recommended that you create a user for your Samba Server. This user will be a dedicated user account used with Samba.
To create a new user:
# adduser <username>
NOTE: You need to have root (sudo) privileges to run this command.

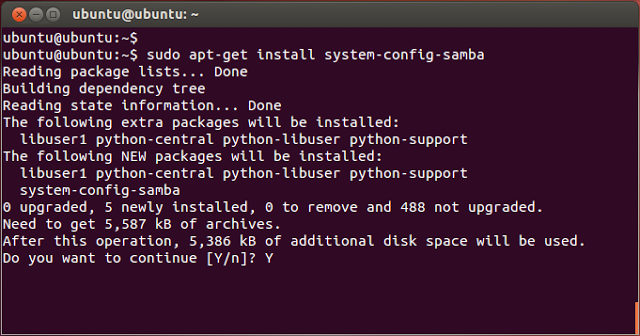
The last step is to install the Samba UI. This option is available ONLY in the Desktop editions of Ubuntu. In case you have a Ubuntu Server, then you need not run this command.
# sudo apt-get install system-config-samba
Once installed, we can view the Samba configuration utility by opening the dash and using the search bar to find Samba like so:

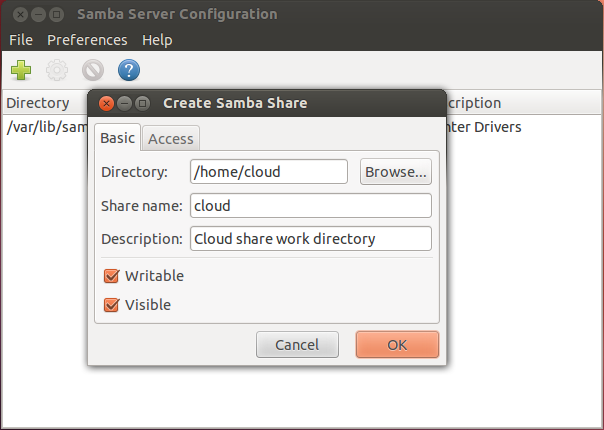
To share a folder with Samba, click the green ‘+’ (plus) icon to open a dialogue box called ‘Create Samba Share’ like so:

Complete the ‘basic’ tab with the required information.
- Directory: Click ‘Browse’ to locate the relevant folder you wish to share.
- Share Name: Use this field to specify a ‘human friendly’ name for your share folder.
- Description: Type a description of the ‘share folder’ in this field.
- Writable: Shared folders are ‘read-only’ by default, so place a tick in this box if you would like to enable ‘write’ access.
- Visible. Place a tick in this box if you want your share folder to be ‘visible’ on the network.

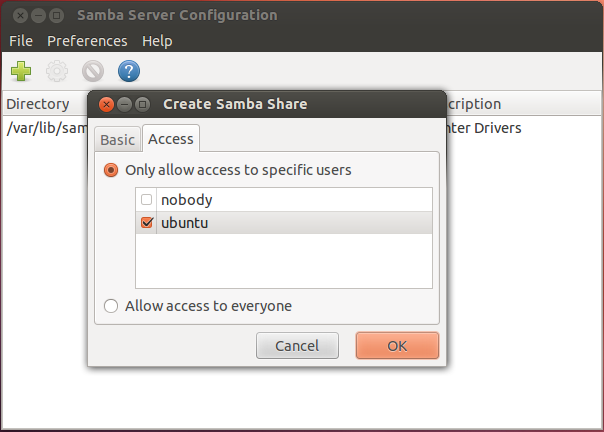
Following this, we now need to set the permissions for your new share folder.
To do this, simply click the ‘Access’ tab in the same dialogue box like so:
You can select the users you want to have access to Samba Server from here.
NOTE: You can alternatively select “Allow Access to Everyone”, but this setting is not recommended in production environments.
Once your settings are completed, you are now ready to test out your Samba Server

On your Windows system, go to “Network“. If your Ubuntu system is not visible, just refresh the Network.
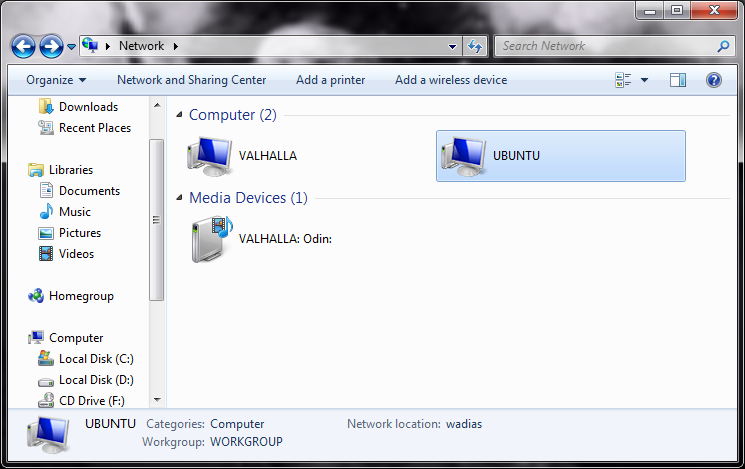
You will see your shared folder
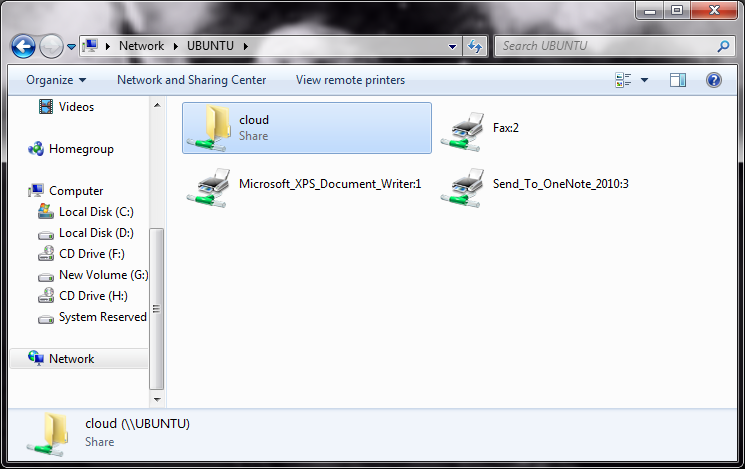
Depending on your security setting, you may be prompted to enter credentials for the Shared Folder.

If all goes well, you now have a shared folder between your Ubuntu and Windows Server.

